
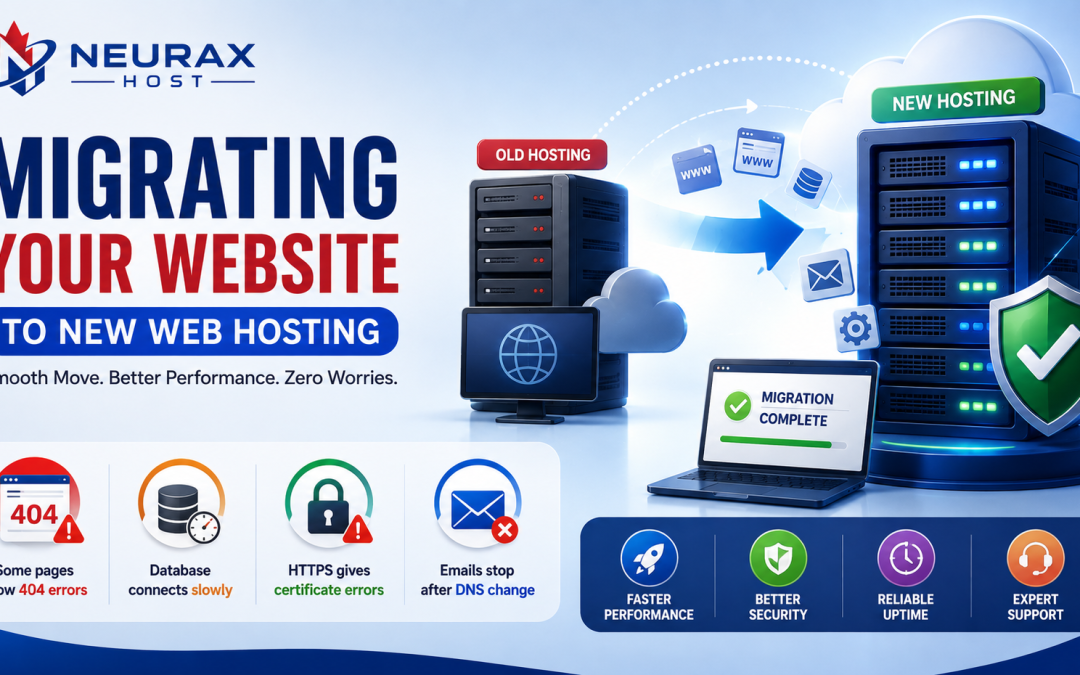
Moving your website to a new web hosting provider can improve speed, security, uptime, and overall website performance. However, a hosting migration is not simply a matter of copying website files from one server to another. If important settings, databases, emails, DNS records, or security rules are missed, your website may stop working after the move.
Before you start, it is important to make a clear migration plan. You should know what needs to be moved, what needs to be checked, and how you will test the new server. A careful migration can reduce downtime and protect your website data. This guide explains what to check before migrating your website to new web hosting, using simple steps that are useful for business owners, website managers, and marketing teams.
Check Your Current Website and Hosting Setup
Start by making a full list of what your current website uses. This includes website files, databases, plugins, themes, SSL certificates, email accounts, subdomains, cron jobs, redirects, and third-party services. Knowing what is connected to your current hosting account will help you avoid missing something during migration.
You should also check your current PHP version, database type, server software, storage usage, and bandwidth. Your new hosting provider should support the same or newer versions required by your website. For example, a WordPress website may depend on a specific PHP version or database setup. If the new server does not support these requirements, the website may show errors after migration.
Take a complete backup before making any changes. Keep at least one copy outside your current hosting account. A backup should include both your website files and database. If your website has customer information, orders, forms, or other important data, check that the backup can actually be restored. A backup that has never been tested is not a reliable safety plan.
It is also useful to record your current website performance. Note your page load time, uptime, server response time, and major error messages. These records give you a clear comparison after the migration and help you prove whether the new hosting environment has improved performance.
Check DNS, Email, SSL, and Website Dependencies
DNS is one of the most important parts of a hosting migration. Your domain name uses DNS records to tell browsers where your website and email services are located. Before changing anything, record your existing A, AAAA, CNAME, MX, TXT, and other important records.
Do not assume that changing your website's nameservers will automatically move your email service. Your business email may be hosted by a separate provider. If MX records are lost or changed incorrectly, your website may work while business emails stop arriving. This is a common migration problem because website and email services can depend on different systems.
Check your SSL certificate before moving the website. HTTPS should work correctly on the new server, including important pages, login areas, checkout pages, and APIs. You should also review redirects. If old URLs point to new URLs, make sure your 301 redirects are preserved. This protects visitors and helps search engines understand the website structure.
Before changing DNS, reduce the DNS TTL if your DNS provider allows it. A lower TTL can help changes spread faster. However, DNS caching still exists, so you should plan for a period when some users may reach the old server while others reach the new one.
A Practical Migration Problem-Solving Table
The following table can help you find technical problems before they affect customers. It focuses on the connection between a website symptom, its likely technical cause, and the action that can solve it.
| Problem Found Before Migration | Likely Technical Cause | Problem-Solving Action |
| Website works but forms fail | PHP mail or SMTP settings are missing | Test SMTP credentials and form delivery on the new server |
| Some pages show 404 errors | Rewrite rules or .htaccess settings were not copied | Compare rewrite rules and test important URLs |
| Database connects slowly | New server uses different database settings | Check database host, ports, indexes, and connection limits |
| HTTPS gives certificate errors | SSL certificate or server configuration is incomplete | Install a valid certificate and test HTTPS redirects |
| Emails stop after DNS change | MX records were removed or changed | Copy all required MX and TXT records before DNS cutover |
| Website becomes slower | Server resources or PHP settings are different | Compare CPU, RAM, PHP workers, caching, and response time |
This type of pre-migration check is useful because it connects the visible problem with the technical reason behind it. Instead of waiting for customers to report errors, your team can test the most likely failure points before the website goes live.
Check the New Hosting Environment Before the Move
Do not migrate your live website until you understand what the new hosting environment provides. Check storage, CPU resources, RAM, bandwidth, database limits, PHP versions, backup options, security tools, and server locations. These features should match your website's current and future needs.
For a growing business, it is important to think beyond today's traffic. A hosting plan that works for a small website may struggle when traffic increases. Ask whether the provider offers easy upgrades, automatic backups, staging environments, caching, malware scanning, and technical support.
A staging environment can make migration much safer. It gives you a private copy of the website where you can test pages, forms, logins, payments, plugins, and other functions before changing the live DNS settings. For larger websites, staging is especially helpful because it lets developers find problems without affecting visitors.
Security should also be checked before migration. Make sure the new server supports firewalls, secure file permissions, malware protection, regular backups, and updated software. If your website handles customer data or payments, review the security controls carefully and confirm that the hosting setup supports your business requirements.
Test Everything Before Pointing Your Domain to the New Server
After copying the website to the new server, test it before changing your DNS. Do not check only the homepage. Visit important landing pages, blog posts, product pages, contact pages, login pages, and checkout pages. Test the website on both desktop and mobile devices.
Forms should be tested from start to finish. Submit a contact form and confirm that the message reaches the correct email address. If your website has customer accounts, test registration, login, password reset, and logout functions. For an online store, test product searches, carts, payments, order emails, and confirmation pages.
You should also crawl the test website for broken links and missing files. Check images, JavaScript, CSS, APIs, redirects, and tracking tools. Review server error logs because some problems may not be visible on the front end.
A smart approach is to create a short migration checklist with three labels: working, needs fixing, and not tested. This simple system prevents the team from assuming that an unchecked feature is working. It also creates a clear record that can be used during the final migration review.
Plan the Final Migration, SEO Checks, and Rollback
Once testing is complete, choose a migration time when website traffic is usually low. Inform your team about the planned change and decide who will monitor the website during the migration. Keep the old hosting account active until the new website has been fully tested and confirmed as stable.
Before the final DNS change, take one more backup of the live website and database. If your website receives orders, registrations, comments, or other live data, decide how you will handle changes made during the migration window. For busy websites, database synchronization may be needed to prevent new information from being lost.
SEO checks are also important. Confirm that your URLs, page titles, meta descriptions, canonical tags, robots.txt file, XML sitemap, redirects, and structured data remain correct. Make sure the new website is not accidentally blocked from search engines by a development setting or noindex tag.
After the DNS change, monitor the website closely. Watch uptime, server response time, error logs, database errors, forms, emails, and important conversion pages. Use your pre-migration performance records as a baseline. If something goes wrong, your team should know how to switch back or restore the previous setup.
A successful website migration is not just about moving files. It is about moving the complete website environment without breaking the services that depend on it. When you check your backups, DNS, email, SSL, databases, redirects, security, performance, and SEO before the move, you greatly reduce migration risk.
The best migration plan is one that prepares for problems before customers see them. Take the time to test the new hosting environment, document your settings, and keep a reliable rollback plan. With these checks in place, moving to new web hosting can become a controlled upgrade instead of a stressful emergency.